By FPL_JohnA
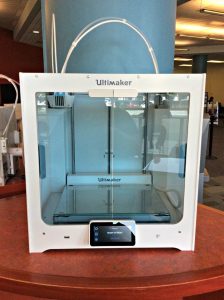
Did you know that our 3D Printers can be used to create repair parts for broken items around your house? Sometimes you can find the files you need online and other times you can make them yourself. It’s not that hard. I like to use Tinkercad.com for my 3D design work. It’s free and has great tutorials.
Here’s an example of something I did recently. The library has some blinds that cover our large windows on the 4th floor. There’s a plastic guide that holds the blinds against a wire and lets them go up and down smoothly. Unfortunately they break overtime and we can’t find replacements anymore. So I created the 3d file (called an .stl file) and used that to print new ones on our printer. Here’s what they look like:
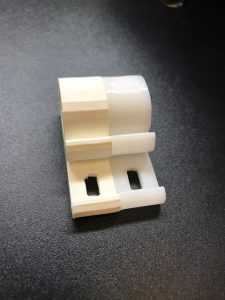
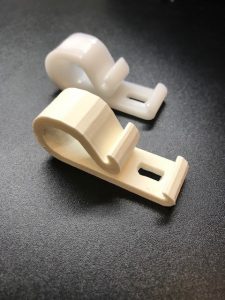
As you can see, the printed one is very similar to the original. It works just as well and allowed us to repair the blinds to work the way they did when they were new.
We’ve seen a lot of great repair projects. One guest printed a part for $1.50 and repaired an $80 fertilizer spreader. Another guest printed a handle for his roller bags. You’d be surprised at what you can do. When you’re ready, just go to https://friscolibrary.com/3d-printing to make a reservation.

Add a comment to: Repair, Don’t Replace, with 3D Printing