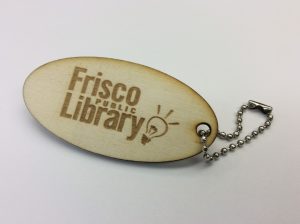
Using bitmap images and vector lines to cut and engrave with the same file.
Some of our guests are interested in having the laser cutter engrave an image and then cut out a shape using one file. It’s possible to do this with two files, one with the image to engrave and another with the lines to cut, but this requires the user to line everything up manually, and that can be time consuming. So here’s an easier way to do it:
Create your file in Inkscape. Draw the lines you want cut.
If you need help using Inkscape, Lynda.com has a great tutorial and you can access it for free through the library’s website at com/digital_library.
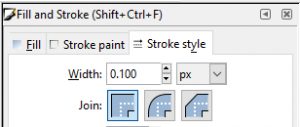
Next, change the thickness of the lines to .1 pixel or less. You can do this by selecting your lines and then going to the Object menu and selecting Fill and Stroke...

This will bring up the Fill and Stroke dock on the right side of the screen. Click on the stroke style tab and you can change the line thickness.

Then import whatever image you want into the Inkscape file and position everything the way you want it.
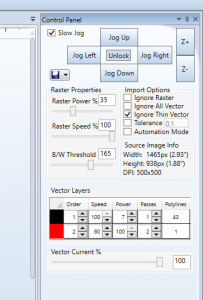
Next you will print to the RetinaEngravesoftware as usual, but you will adjust some settings that you may not have noticed before.
On the right side of the RetinaEngragesoftware you will see a checkbox for Ignore Thin Vector. If you check it, the Raster Engrave tab will ignore the lines you want cut, but it will keep the image where you want it positioned. Then, when you go to the Vector Cut tab will ignore the image, but cut the lines. You will have to manually switch between tabs but everything else is automatic.

And that’s all there is to it, so come to the library and try it out!


Add a comment to: Tips and Tricks for the Laser Cutter